K-pop Makeup Tutorial: Everyday Idol Look & Korean Product Picks
A K-pop performance can leave you wanting to copy the whole look: the shimmer, the lashes, the perfectly placed lip color. For everyday makeup, start with three details you can actually control—soft definition around the eyes, a little light on the lids and color concentrated in the middle of the lips. The rest can stay simple.
This beginner K-pop makeup tutorial builds an everyday look, then shows how to adjust it for a concert. The Korean makeup recommendations below are selected for their role in that routine, using official product descriptions. They are not a hands-on wear test or a list of products confirmed to be used by any particular idol.
By Kpop From Seoul · Updated October 3, 2026. Product ranges and official pages checked on this date; prices, formulas and local availability can change.

The quick version: what to use and where
| Part of the look | Start with | Keep the focus here |
|---|---|---|
| Skin | Your usual foundation or cushion, concealer and powder | Thin coverage; powder where you need it |
| Eyes | Neutral eye shadow, liner and mascara | Soft shadow, a short outer flick and separated lashes |
| Cheeks and lips | Blush and lip tint; contour is optional | A soft blush edge and a blended lip center |
If you already own these categories, try the technique first. A tint or a useful neutral palette is a more purposeful addition than a whole new makeup bag.
Step 1: keep the base thin and match your own skin
Apply your usual skin preparation and daytime sunscreen, following their directions. Let the surface settle before you start the base. Press a small amount of foundation or cushion onto the areas you want to even out, then blend toward the edges. Add concealer only where you want extra coverage.
Choose a shade that blends into your jaw and neck in daylight. The brightness in a stage image can come from lighting and editing; you do not need a paler foundation to recreate the makeup. If a Korean cushion range does not include your match, use a foundation you already know works.
If your cheeks look dry, ease up on powder there. If your T-zone gets shiny, press a little powder there rather than covering every part of the face. A small amount of glow on the cheekbone can give the look a focal point without making the whole base glossy.
Step 2: build soft eyes before adding sparkle
Brush your brows into place and fill only the gaps, keeping the front lighter than the tail. For the lids, choose a matte shade close to your skin color. Blend it over the mobile lid, then add a slightly deeper brown, taupe or rose-brown to the outer part. Check the shape with your eyes open before you add more.
Draw a thin line along the upper lashes and extend it a short distance at the outer corner. Follow the angle that feels comfortable on your own eye shape. A small, softly blended flick is easier to adjust than a large graphic wing.
For sparkle, press a small amount of eye-area shimmer onto the center of the lid. Keep it away from the waterline and follow the product's placement instructions. If you enjoy an aegyo-sal-inspired finish, a tiny touch of suitable satin eye shadow on the skin below the middle of the lower lashes is enough; a hard, dark stripe can dominate the look.

Step 3: define the lashes without rushing
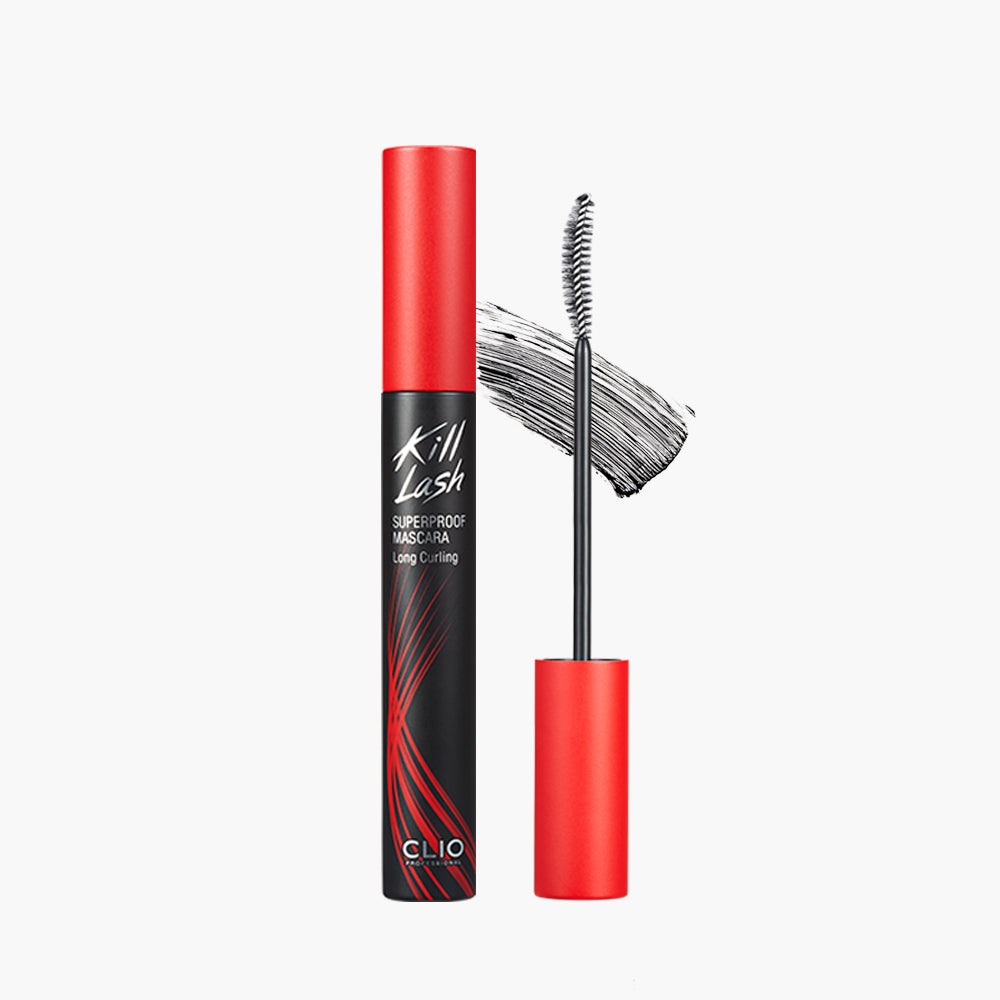
Apply mascara in a light coat, working carefully from the roots toward the tips. Pause to check whether the lashes still look separated before adding another coat. For this beginner routine, mascara is enough to finish the eye look.
If you choose a waterproof formula, plan for removal as well as application: use the remover and method recommended for your mascara, and avoid pulling at the lashes.
Step 4: soften the cheeks and make contour optional
Put a small amount of blush on the cheeks and blend the edges until you cannot see where the color starts. Peach, rose or berry can all work; choose the depth as well as the undertone. A very pale blush may disappear on deeper skin, while a richer shade can be applied lightly.
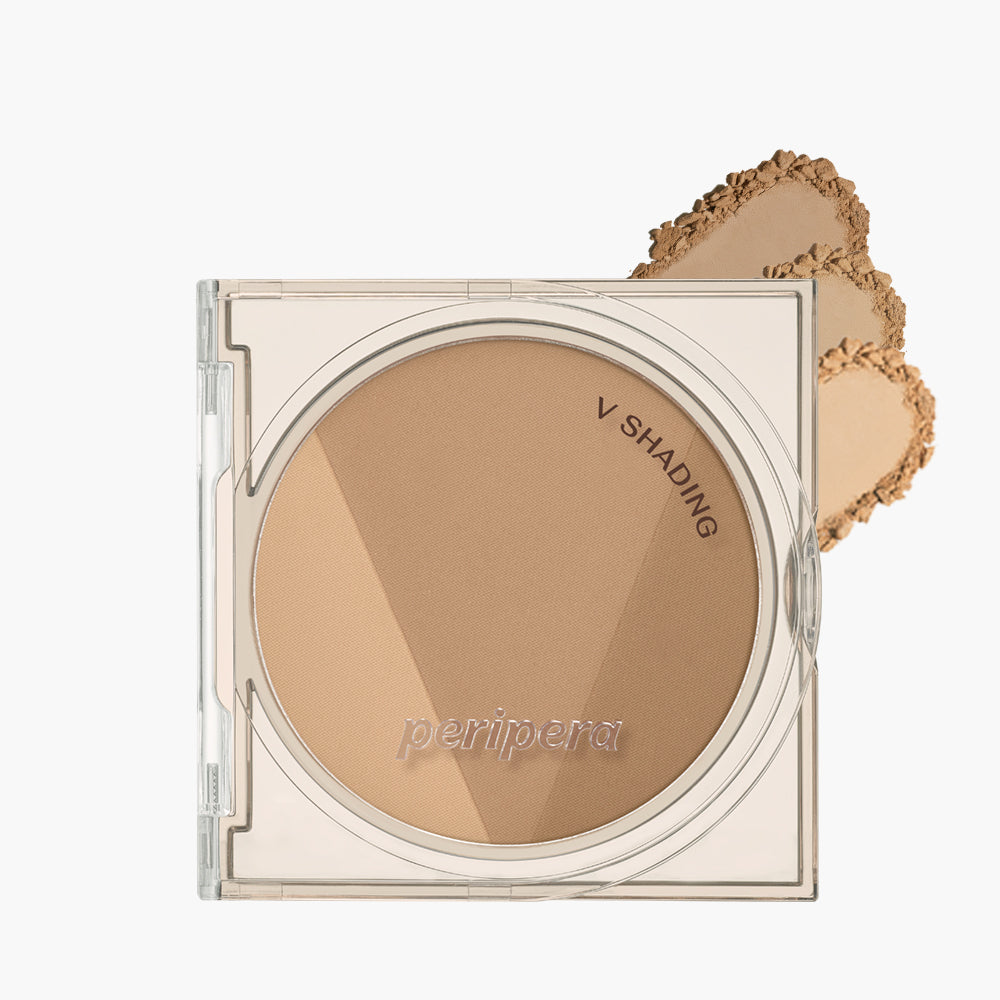
If you want contour, begin with a small amount at the outer cheek and blend. Check it in daylight before adding more. Swatch the shade against your skin: a useful contour should give the shadow effect you want without leaving a visible orange or gray patch. You can leave contour out entirely and keep the eye-and-lip focus.
Step 5: blend a gradient lip
Start with comfortable, prepared lips and blot away excess balm. Place a little tint in the middle of the lips, then blend outward with a clean applicator or fingertip. Leave the outer edge softer. Add another small layer in the center if you want more contrast.
You can also take the color all the way to the edge for a fuller lip look. Try rose, peach-brown or berry based on what you enjoy wearing; a gradient is an application technique, so it can work across different skin tones and lip shapes.

Four Korean makeup products to consider
These are options for specific steps, rather than a ranking of every product on the market. Read the current ingredient list and shade guide for the exact version sold in your country.
| Product and official link | Why consider it? | What to check |
|---|---|---|
| rom&nd Better Than Palette | 05 Shade & Shadow Garden offers an all-matte option; 01 Pampas Garden includes warm peach and champagne tones. | Choose the palette for the colors you will use. The all-glitter 00 version is a different purchase from an everyday matte palette. |
| CLIO Kill Lash Superproof Mascara | The brand describes a waterproof formula. The page lists Long Curling and Volume Curling versions. | Pick length or volume deliberately, and check removal directions. Wear results vary. |
| PERIPERA Ink V Shading | A contour compact with shades that can be used separately or mixed. | The page lists Natural Brown, Deep Brown and Grayish Cool. Swatch for both depth and undertone; the range may not suit everyone. |
| rom&nd The Juicy Lasting Tint | A glossy tint suited to a center-first lip application. | Check the exact product name and shade. The original Juicy Lasting Tint and The Juicy Lasting Tint have different listings. |
Everyday makeup or a concert look?
For daytime, keep the outer liner short, use one wash of shadow and blend the tint softly. For a concert, deepen the outer eye a little and add a small highlight on the lid, then take a photo in ordinary indoor light. That gives you a useful check before you leave.
Carry blotting paper, a small mirror and your lip product. Blot excess shine before touching up the base; repeatedly adding coverage over oil can make the texture harder to manage.
Quick answers before you shop
Do I need a Korean cushion foundation?
Use the base that matches you and gives the finish you want. The eye placement and lip blending in this routine can be done with many brands.
Which product should a beginner buy first?
Look for the gap in your own kit. If you have eye makeup already, a tint gives you a new lip finish. If you lack usable neutral shadows, start with a palette containing mattes you can wear often.
Are these the products idols actually wear?
This article does not make that claim. An exact idol product list needs a named makeup artist, official tutorial or other reliable source for that specific look.
How do I keep the eye steps comfortable?
Use clean hands and tools, do not share eye makeup, and use only products intended for the eye area. Stop using an eye cosmetic if it causes irritation; seek medical advice if irritation persists. These points follow the FDA's eye cosmetic guidance.
Sources and more K-pop reading
Product details and images: official rom&nd palette and tint pages; official CLUB CLIO pages for mascara and contour. Images are credited brand images, displayed for product identification and discussion; they are not our photographs. Product links are direct links without affiliate tracking.
Build your playlist while you get ready: read our BLACKPINK and BLINK guide or TWICE and ONCE guide.


Comments
Post a Comment